
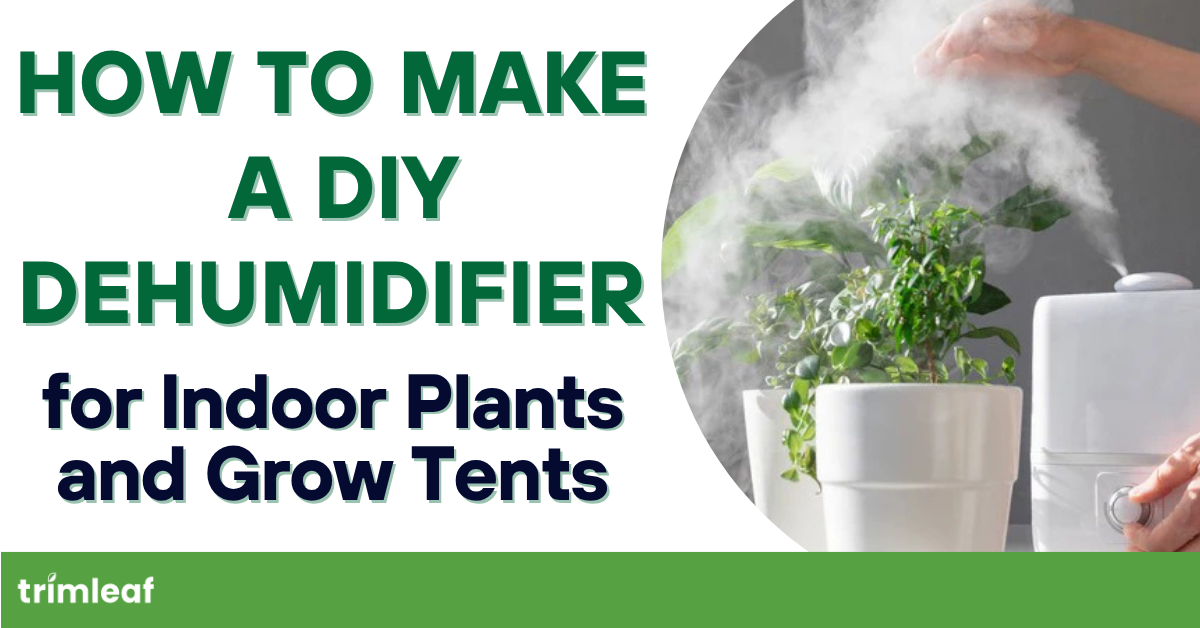
Humidity is one of the most overlooked factors in indoor gardening, yet it can make or break a grow. Too much moisture in the air creates a breeding ground for mold, mildew, and bud rot, problems that can wipe out weeks of hard work. On the flip side, when humidity drops too low, plants struggle to take up water and nutrients, leading to stress and stunted growth.
Most growers solve this with an electric dehumidifier, but not everyone wants to deal with the upfront cost, noise, or extra electricity use. That’s where DIY solutions come in. With a few simple materials like salt, rice, or silica gel, you can make a dehumidifier that passively absorbs moisture and keeps your grow tent or indoor garden within a safer range.
This guide will walk you through why humidity matters, how to build DIY dehumidifiers, when they work best, and when it’s worth upgrading to a store-bought system.
Table of Contents
- How Humidity Affects Indoor Gardening Success
- DIY vs. Store-Bought Dehumidifiers
- DIY Dehumidifier Methods
- 1. Rock Salt / Calcium Chloride Dehumidifier
- 2. Silica Gel Packs / Indicating Silica
- 3. Rice or Baking Soda Bowls (Ultra simple, low capacity)
- 4. Fan + Desiccant “Boost Box” (Speeds up any passive method)
- How Growers Actually Use DIY Dehumidifiers
- When to Step Up to a Commercial Dehumidifier
- Conclusion
- Frequently Asked Questions About DIY Dehumidifier for Indoor Plants and Grow Tents
How Humidity Affects Indoor Gardening Success
Humidity isn’t just about comfort, it directly affects how plants breathe, photosynthesize, and grow. Plants constantly release water vapor through their leaves (a process called transpiration). If the air is already too moist, this process slows down, limiting nutrient flow and photosynthesis. If the air is too dry, plants lose water too quickly, leading to stress and curled leaves.

Here’s why balance is critical:
High humidity risks
- Creates the perfect environment for powdery mildew, gray mold, and bud rot.
- Cannabis is especially vulnerable in late flowering, when dense buds trap moisture.
- Fruiting vegetables and herbs may also ripen slower under overly humid conditions.
Low humidity risks
- When air is too dry, plants close their stomata (leaf pores) to prevent water loss.
- Reduces CO₂ intake, slowing growth.
- Symptoms often include crispy leaves, poor nutrient uptake, and stalled development.
Most indoor plants thrive between 40–60% relative humidity (RH). Cannabis growers often adjust more tightly:
- Seedlings/early veg: 60–70% RH
- Veg stage: ~50–60% RH
- Flowering: 40–50% RH (to prevent mold in buds)
Keeping the humidity right is one of the most effective ways to ensure strong growth, healthy leaves, and higher yields, whether you’re tending houseplants or running a grow tent.
DIY vs. Store-Bought Dehumidifiers
DIY methods are great for small setups or growers on a budget, but they’re not a one-size-fits-all solution. Understanding the trade-offs helps you decide whether to stick with salt and silica or upgrade to an electric unit.
| Factor | DIY Dehumidifiers | Store-Bought Dehumidifiers |
|---|---|---|
| Cost | $5–20 using salt, rice, silica, or a small fan | $50–200+ depending on size and brand |
| Capacity | Lowers humidity by ~5–10% in small spaces (2×2–3×3 tent) | Can drop 20–30% RH even in larger tents or rooms |
| Maintenance | Frequent checks: replace salt, recharge silica, empty brine | Plug-and-forget with auto-drain and digital controls |
| Reliability | Inconsistent, depends on RH and room size | Steady and controlled performance with adjustable settings |
| Best For | Beginners, hobbyists, micro-grows | Serious growers, large tents, cannabis in late flower |
Start with DIY if you’re just getting set up or working in a small space. Always measure your results with a hygrometer, and if your humidity consistently stays outside the safe range, upgrade to a store-bought dehumidifier. This hybrid approach ensures you’re not overspending upfront, but you’ll still scale up protection as your grow demands it.
DIY Dehumidifier Methods
If you’re growing in a small indoor garden or tent, you don’t always need a powered unit to bring down humidity. Everyday materials like salt, rice, or silica can passively absorb moisture from the air.
While these DIY dehumidifiers won’t match the power of an electric machine, they can be surprisingly effective in smaller setups.
Before you start: Place a hygrometer in your space so you can see if RH actually drops. DIY methods work best in small areas (shelves, cabinets, 2×2–3×3 tents).
Here are the most common methods:
1. Rock Salt / Calcium Chloride Dehumidifier

Salt is hygroscopic (it absorbs water from air). Calcium chloride (like DampRid or driveway “ice melt” pellets) absorbs far more moisture than regular table/rock salt, so use it if you can.
You’ll need:
- 2 buckets (or 1 bucket + plastic colander that nests on top)
- Drill (⅜–½" bit) or a utility knife (for holes)
- 2–5 lb (1–2 kg) calcium chloride pellets (or coarse rock salt if that’s all you have)
- Mesh/fabric or perforated lid (to keep dust out)
- Gloves (the brine can be irritating)
Make a Drip System
Drill 15–25 holes in the bottom of the top bucket (or use a colander). Nest it over the bottom bucket to catch liquid brine.
Add the Desiccant
Pour pellets into the top bucket/colander (fill ~½–¾ full). Cover with mesh or a perforated lid.
Place It Smartly
Set the unit off the floor (on a plant stand/crate) in your grow space so air can circulate around it.
Maintain Weekly
Check brine in the lower bucket and empty safely. Top up pellets when they’ve clumped/dissolved.
✅ Good for: 2×2–3×3 tents, closets, cabinets.
⚠️ Watch outs: The liquid brine is corrosive, so keep it away from metals and never dump it in soil or drains. Dispose of properly. Wear gloves; keep away from kids/pets.
2. Silica Gel Packs / Indicating Silica
What it is: Silica gel is a strong desiccant used in packaging. “Indicating” silica changes color when saturated (e.g., orange → green or blue → pink).
You’ll need
- Bulk indicating silica gel or lots of sachets
- Breathable pouches (mesh/organza) or perforated containers
- Oven (for recharging per label)
- Small trays or jars to group packs
Load Pouches
Fill mesh bags or jars with silica. Use multiple small pouches for better coverage.
Place Near Targets
Put pouches in drawers, bins, or around the tent perimeter, especially where air is stagnant.
Monitor Color
Check the indicator color weekly to know when they’re saturated.
Recharge & Repeat
Dry in the oven per manufacturer directions (commonly ~95–120 °C / 200–250 °F for 1–2 hours), cool, and redeploy.
✅ Good for: Micro-grows, storage totes, drying jars, small cabinets.
⚠️ Watch outs: Follow the label for recharge temps; some formulas differ.
3. Rice or Baking Soda Bowls (Ultra simple, low capacity)
What it is: Uncooked rice and baking soda are mildly hygroscopic. They pull a little moisture, enough for tiny spaces.
You’ll need
- 2–4 shallow bowls or trays
- 2–4 cups (500–1000 g) uncooked rice or baking soda
- Optional: cheesecloth or paper towel + rubber bands (to cover)
Prep Bowls
Add a 1–2 cm (½–¾") layer of rice or baking soda to each bowl. Cover loosely with cheesecloth to keep dust out.
Place Strategically
Set bowls near humid spots, like by the intake, reservoir, or low corners where air is still.
Spread Them Out
Several small bowls beat one big pile; more surface area means more absorption.
Refresh Often
Replace when clumped or damp (every 3–7 days, faster in high humidity).
✅ Good for: Shelves, propagation domes, micro-cabinets.
⚠️ Watch outs: This won’t move RH much in a full tent, so think of it as a “touch-up,” not a fix.
4. Fan + Desiccant “Boost Box” (Speeds up any passive method)
What it is: Moving air across a desiccant increases contact and absorption rate. You’re not making a powered dehumidifier, just supercharging the passive one.
You’ll need
- Small USB fan (quiet, low heat)
- The salt/rice/silica setup from methods above
- A crate/stand to elevate the desiccant
- Zip ties or tape to position the fan
Elevate Desiccant
Place your salt/silica container on a stand so air can circulate 360°.
Angle the Fan
Aim a gentle airflow across (not directly into) the desiccant. Keep it from blowing pellets or dust.
Set a Timer (Optional)
Run intermittently (e.g., 15 min on / 45 min off) to limit heat or drying stress in very small spaces.
Track Results
Check RH before and after a few hours. Adjust fan angle or duty cycle for the best drop without over-drying.
✅ Good for: Any small setup where air is stagnant; pairs well with calcium chloride.
⚠️ Watch outs: Don’t point the fan at seedlings from close range; avoid spilling brine/pellets.
How Growers Actually Use DIY Dehumidifiers
DIY dehumidifiers aren’t one-size-fits-all. Their effectiveness depends on the size of your grow space and what you’re growing. Here’s how different growers can use them:

Hobbyists with Herbs Indoors
If you’re growing basil, mint, or other herbs on a windowsill or shelf, a bowl of rice or a silica pouch works fine. It’s enough to prevent dampness without drying the air too much.
Tent Growers (2×2 or 3×3)
For small grow tents, a calcium chloride bucket system is usually strong enough to maintain stable humidity. It’s affordable, doesn’t use electricity, and can keep RH in the safe 40–60% range if monitored.
Greenhouse Growers
In greenhouses, DIY methods can act as a supplemental tool on cloudy or rainy days. However, they aren’t powerful enough on their own. Most greenhouse setups eventually require an electric dehumidifier for consistency.
Cannabis Growers
DIY works in the early stages (seedlings, veg, early flower) when plants can tolerate higher humidity. But in late flower, dense buds trap moisture and increase the risk of bud rot. At this point, upgrading to a store-bought dehumidifier is essential for protecting yield and potency.
When to Step Up to a Commercial Dehumidifier
DIY rigs have a ceiling, and most growers hit it without realizing they have. I’ve watched calcium chloride buckets do honest work in a 2×2, then completely lose the plot the moment someone scales to a 4×8 or adds a second tent. The signs your DIY setup is failing show up well before the harvest disaster: RH swings of more than 5% across a single dark cycle, condensate pooling under the bucket lid faster than you can empty it, USB fans burning out from running 24/7, and that musty corner smell that means moisture is collecting where airflow doesn’t reach.
The math gets unforgiving fast. A well-built calcium chloride rig pulls maybe 30 to 50 pints per day at best, and that’s before saturation drops the rate. Commercial units start at 100 pints per day and climb from there, with tighter RH control. In a sealed flower room, that’s the difference between holding 45% RH overnight and waking up to bud rot. Durability tells the same story: DIY components last 6 to 12 months before salt corrosion eats the buckets, while a quality commercial unit runs 8 to 12 years on the same compressor. Energy-efficiency per pint removed is also where the real payback math lives.
If you’re ready to move up, the complete buying guide to Quest dehumidifiers walks through capacity sizing and ducted vs portable units, and the Anden buying guide covers the integrated-controller side of the market. For how RH, VPD, and temperature interact, start with the humidity control fundamentals pillar before spec’ing anything.
None of this trashes DIY. Passive desiccants still earn their keep in propagation tents, drying chambers, and storage cabinets where the RH load is small and predictable. But once you’re running flowering canopies, multi-tent setups, or anything larger than 4×4, browse the full lineup of commercial dehumidifiers for the capacity and control that actually protects yield. The Quest Next-Gen 225 is where most first-time commercial buyers land: 225 pints per day, real onboard RH control, and build quality that survives the next decade of grows.
Conclusion
Humidity control is one of the simplest ways to improve plant health, prevent mold, and boost yields, yet it’s often the most overlooked. DIY dehumidifiers made from materials like calcium chloride, silica gel, or even rice give hobbyists and small-space growers an affordable, low-effort way to manage moisture without adding electricity or noise.
While these homemade solutions can make a real difference in smaller setups, they have limits. As your grow expands or humidity becomes harder to manage, especially during flowering, investing in a quality electric dehumidifier becomes essential for consistency and peace of mind. Think of DIY methods as the first step: easy to build, great for learning, and surprisingly effective when used correctly.
With a hygrometer, a few household materials, and a little experimentation, you can keep your plants healthier, your air cleaner, and your grow more stable, all without breaking the bank.
Frequently Asked Questions About DIY Dehumidifier for Indoor Plants and Grow Tents
- Can I really use rice as a DIY dehumidifier for plants?
-
Yes, uncooked rice can absorb some moisture, but its capacity is limited. It’s best for very small spaces like propagation domes, jars, or micro-cabinets, not full-sized grow tents.
- How long does rock salt or calcium chloride last in a DIY dehumidifier?
-
Depending on humidity levels, calcium chloride can last 2–4 weeks before needing replacement. Regular rock salt may need to be changed more often, usually every 1–2 weeks.
- Will a DIY dehumidifier work inside a 2×2 or 3×3 grow tent?
-
Yes, DIY methods like salt buckets or silica packs can lower humidity by 5–10% in smaller tents. For larger setups, the effect is usually too weak and inconsistent.
- How much humidity can DIY dehumidifiers realistically remove?
-
In small spaces, DIY dehumidifiers can drop RH by about 5–15%. In larger tents or rooms, you’ll need a store-bought unit for a stronger reduction of 20–30% RH.
- Do I need multiple DIY containers in one grow tent?
-
Yes. Several small containers spread across your tent will work better than one large container. More surface area means faster moisture absorption and more even coverage.
- Are DIY dehumidifiers safe around seedlings and young plants?
-
Yes, but take precautions. Keep brine solutions out of reach, use stable containers, and avoid placing desiccants directly next to delicate seedlings to prevent spills or drying stress.
- Can DIY methods fully prevent mold and bud rot?
-
No. DIY methods can reduce risks by lowering humidity but cannot guarantee full prevention, especially during late flower in cannabis. For complete control, use a powered dehumidifier.


